Wooden floors are a complement full of charm, luxury and warmth for any home, and their maintenance represents only a simple step (and not so frequent or necessary) in its existence… However, when the time comes to beautify it, do it yourself, or pay someone else to do such a basic job? We bet on the first option, and we explain how!
In 5 simple steps and achievable even by inexperienced people, this guide is for you to polish and varnish your wooden floor impeccably without overcomplicating it… Let us start now!
 |
 |
1. Preparing the place
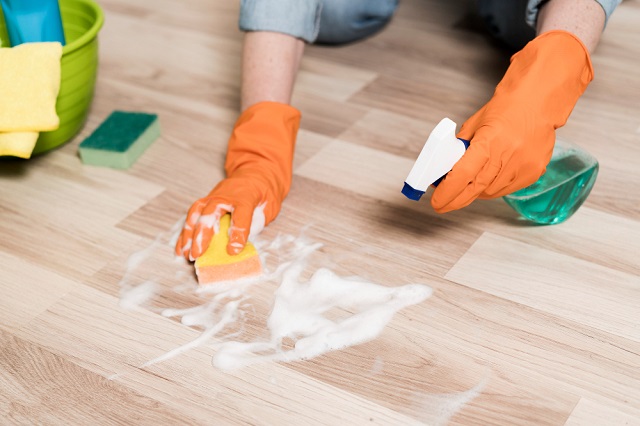
Before starting to work on the floor, it must be impeccable and without a single particle of dust, so in addition to cleaning it, we must remove all furniture and items that may accumulate it. Next, cover all the doors and windows with plastic to create a filter before the exterior entrances. Remember to warn all the house inhabitants that the space will be unavailable for at least 48 to 72 hours until the work is finished.
PHU Bortnowski ‘s work
2. What materials do I need?
Of course, before working on the floor, we must have the necessary materials, not the traditional ones from the toolbox. The most vital are:
– Vacuum cleaner (for ideal cleaning beforehand)
– Industrial scraper or Special brush for paints and residues (to perfect the surface and edges)
– Smooth plastic spatula and special varnish brushes (for the time of coverage)
– Special polisher for floors and edges (for the perfect seal)
– Special varnish for wooden interiors, generally urethane acrylic (with an approximate price in hardware stores of 34,900 pesos)
3. Get to work!
After carefully vacuuming and cleaning the surface, it levelled out each of its imperfections by covering any holes and gluing down any boards that may be slightly loose. Remember that this step is as important as applying the final varnish since the floor’s neatness will guarantee that the result is truly satisfactory.
4. Just before varnishing
Most polishers have a roller to which you can adjust the sandpaper that best suits you according to the work. Depending on how fine or penetrating you want the polish to be, you should go between the 80 to 120 grit diameters, usually in this order, several times until the vision pleases you. An important point to consider is to pass the polisher linearly and continuously, without stopping, so as not to generate unevenness that can play against us in the varnishing process.
5. The final shine
To apply the varnish, you must properly vacuum and clean the surface again, removing any debris or improper edges. Then, continue to apply the first layer of varnish with brushes and special applicators, let it dry for 24 hours and after this period has passed, polish the floor again and this time with 400 sandpaper.
The next step is to dilute the polyurethane varnish in 10% of its volume of mineral spirits and apply two coats of this mixture on the surface, with the same period of 24 hours between coats and with the sanding of 400 with the vacuum cleaner when dry.
As a final secret for better results, leaving three more days without placing furniture or items that could scratch the floor would be ideal. After this, you cannot stop contemplating your brilliant wooden environment!