 Timber floors were once the most popular flooring in the United States. They were first used in finished form in the 1600s and continued to grow in popularity until the 1980s when cheaper options became available.
To this day, they are a luxury, and anyone who wears them should be proud. If your Timber floors are old, worn, and unattractive, they need refinishing. This guide will help you make the final decision.
How to restore Timber floors
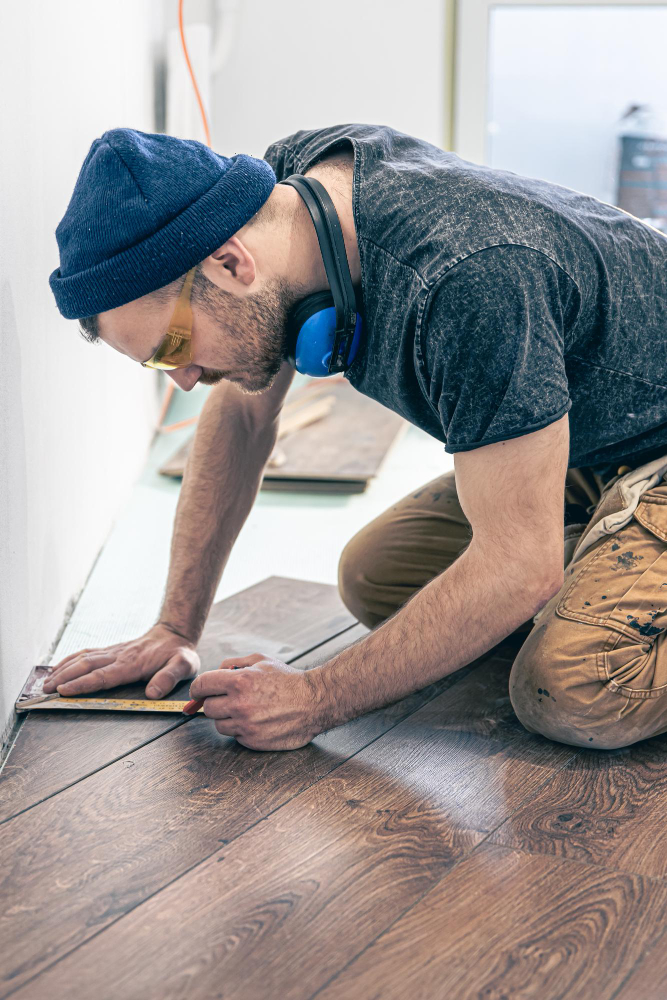
Refinishing old Timber floors will require some know-how. But it’s easy once you know how to do it. You must be patient and take it easy when necessary. You can have the floors of your dreams if you can do that.
What you will need
- Broom
- Scrub
- Timber floor Cleaner
- Mask
- Buffer
- Sandpaper
- Empty
- microfiber sweeper
- Timber floor finish
Cleaning
The first thing you do is get everything out of the room. Then start cleaning. Sweep the floor well before mopping. Then mop. You can buy a Timber floor cleaner or make your own with 1 part vinegar to 10 parts water.
Just make sure your floor is dry afterwards. It is very important to apply the finishes on a dry floor. Allowing it to soak will make marks as the finish will not apply to wet areas and will stain the floor.
sanded
Putting on a mask will be beneficial. It’s a good idea to make sure everyone in the room is wearing one. You will want to rent a buffer to make this process much easier. Then use 150 to 200 grit sandpaper and sand anywhere a polisher can’t reach.
Then start buffing with the buffer. It should come with instructions, but if it doesn’t, you can ask the company you rented it from. Dust should be all over the floor, and the old finish should be gone immediately.
Vacuuming
Consider vacuuming up the dust as you go. This will make it easier to see and less dust for you to breathe. If you have a helper, having him do it is good. Once you’ve finished buffing the floor, let it sit for ten minutes, then vacuum it again.
Finally, with a soft microfiber broom, sweep the floor. Please do not use a bristle broom; you will lose the dust and spread it around. Use a Swiffer sweeper or duster, or other soft pad. Dusting works well.
finishing application
If you have a respirator, wear it. Otherwise, a mask may suffice if you take plenty of breaks for fresh air. Again, cover the hard-to-reach parts with a small hand brush. Then, pour the finishing strips on the floor for the rest of the room and spread it out as you would with a mop.
Apply it like paint, working with the grain of the wood. If applying a second coat, wait 3 hours or the time indicated on the bucket. It is best to wait about a week before adding furniture or entering the room.
How much does it cost to refinish Timber floors?
The cost of refinishing Timber floors depends on whether you do it yourself or hire someone to do it for you. You can expect to pay $1,751 on average, as the range is typically between $1,074 and $2,482.
This is if you pay between $3 and $8 per square foot, the average cost to refinish Timber floors. It may cost more or less, but it will generally be in this range. Here’s a breakdown of what you’re paying for:
- Sanded: $0.50 to $3.00 per square foot
- Staining: $1 to $3 per square foot
- Siding: $1 to $2 per square foot
Other costs include labour, tools, and any special items you need to purchase for different types of flooring.
 Timber Floor Restoration Projects
Here are some projects where people restored old Timber floors and got amazing results! Check them out to get inspired for your project!
Roxanne White Timber floors
This project is quite inspiring. Roxanne of The Honeycomb Home refinished her Timber floors. They start out looking pretty rough. Most people would give up before even restoring them without a professional.
As you can see, the medium-coloured floors were old, worn and unattractive. But after a bit of DIY, she made them look wonderful! Instead of using a wood stain, she tried a different route.
He whitewashed them with paint after a good repair and a coat of polyurethane to seal the floors afterwards. This shows that going darker is optional to cover Timber floors with a new finish.
Karen Modern Wood Floor Refinish
Karen from The Art Of Doing Stuff showed us how to finish pine hardwood so it looks spectacular. The struggle with the pine tree is that it’s easier to finish with it looking orange. But Karen found a way.
He started with the floors as usual, using less fine grit sandpaper to give them a more natural look. He also used a matte finish and a water-based formula. She swears by BonaVida and uses only her products.
The final look is stunning and natural and has a gorgeous hue you can hardly find anywhere else. The look can be used in farmhouses, shabby chic homes, and any rustic home. You can make it work for any house.
Robert and Lauren’s Timber floor under the rug
If you are lucky enough to have Timber floors under the old rug, remove it! That’s what Robert and Lauren of Blesser House did. They pulled up that rug and were left with a mouldy mess.
Although it was not moulded, they were marks left by the carpet. They suggest using a hammer and pry bar to remove any baseboard covering the carpet. Then lift the rug and use a utility knife to help with stubborn sections.
Then they remove the staples and continue as if the carpet was never there. Be sure to wear a safety mask if there’s mould or something even more sinister under the rug. As you can see, your floors look amazing.
Sarah’s Light to Dark Wood Floors
Sarah from Room For Tuesday boldly decided to take her lightwood floors and go dark. When Sarah decided to do it, she was given a quote of $4,000. With that, she decided to do it herself.
He ended up spending $600, saving thousands of dollars. This is something to consider if he thinks his listing is outrageous. You will always save money doing it yourself, especially if you do it right.
He went for a smooth look with 200+ grit sandpaper. The result is fantastic. The dark floors are as dark as possible, and it looks amazing with the white fireplace to contrast them.
The entire refinishing process
The folks at Life On Shady Lane showed us step-by-step how to refinish Timber floors allowing us to follow along. They walked us through every step and even created two posts to ensure we got everything.
What is special about this project is that they show why each step is important. Why it’s important to sand old, finished floors, what’s the difference between unsealed and sealed floors, and more. It is worth reading.
Just look at these results! It may seem easy, but if you follow each step, you will see it requires much work and dedication. You need to earn your Timber floors before taking shortcuts. But it will be worth it!
Frequently Asked Questions (FAQ) Frequently Asked Questions
Is replacing Timber floors a better option?
Unless the wood is rotting, then no. Replacing Timber floors is extremely expensive. Refinishing them can be expensive if you hire a professional, but it’s even more expensive to redo them completely. Stick to the original if you can.
Is my floor to worn and scratched?
Probably not. If you get a good sander, you can get through most scratches unless they are deep cuts. In that case, leave them on, as they can add character and are barely noticeable when done.
How do I clean Timber floors?
Here is a wonderful guide on how to safely clean Timber floors. You should give them a good cleaning at least once a week unless you want to repaint them in the not-too-distant future. You worked so hard to get here, so take care of them!
…