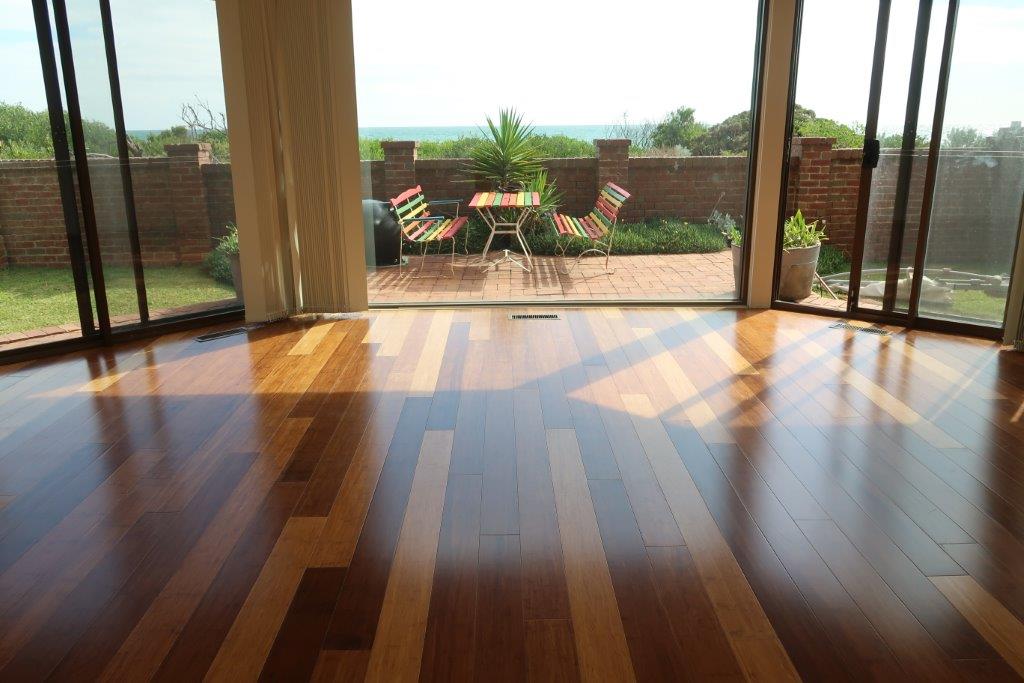
Selecting a new flooring type might seem like a daunting choice with the sea of options available today. One option that has consistently remained a go-to for countless homeowners is the exceptional and timeless hardwood. However, an innovative alternative has made its way into the spotlight, making people reconsider: Engineered Timber Flooring.
Compared to a traditional solid timber floor, an engineered timber floor is a multilayered flooring solution that offers something quite different. It merges the many advantages of hardwood flooring with additional strengths that make it a truly excellent choice. Its contemporary design, which involves several layers of wood being bonded together, impacts both the aesthetic appeal and the quality of the engineered timber floor.
Compared to traditional hardwood, you might be wondering how engineered timber floor holds its own, and perhaps even outdoes hardwood. Here are a few solid reasons:
- Enhanced Stability: Due to their unique multilayered construction, engineered timber floors hold a distinct edge over hardwood because of their structural stability. They’re less likely to buckle under changes in temperature or humidity, making them an ideal pick in moist areas and for underfloor heating systems.
- Eco-Friendly: Notably, fewer primary resources go into the production of engineered timber flooring than traditional hardwood flooring. The underlayers of engineered timber can be composed from recycled wood or less costly, rapidly-regenerating species, aiding the preservation of older or endangered tree species.
- High Durability: Engineered timber floors are designed with resilience in mind. Being able to take a good deal of foot traffic, scratches from pets, or even boisterous play from children, these floors can handle the demands of everyday life seamlessly, without visible wear.
- Wide Range of Options: There’s an extensive variety of choices when it comes to styles, sizes, and finishes with engineered timber floorings. Such diversity means you can customize your floor to precisely match your home’s aesthetic style.
- Ease of Installation and Maintenance: Engineered timber floors are simpler to install than hardwood and require fewer resources and time for the installation process. Its tongue-and-groove design can be glued down, nailed in, or floated, providing flexibility during installation. Moreover, these floors are easy to clean and maintain, thanks to the latest finishes.
In essence, a switch to engineered timber floors potentially offers more bang for your buck, answering all your flooring objectives without needing to compromise on either style or functionality. It equips your home with the ageless allure of traditional hardwood, but without the related drawbacks and with numerous additional benefits.
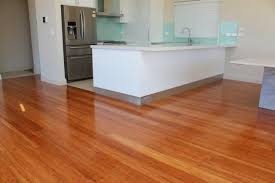 When making renovations or building your dream home, selecting the right flooring is a critical decision that significantly affects the overall appeal of your rooms. Engineered timber flooring is becoming an increasingly popular choice for homeowners seeking a unique blend of aesthetics, durability, and value for money. However, like any material, engineered timber flooring has its share of pros and cons. Understanding them thoroughly will ensure you make an informed decision that aligns with your specific needs.
Pros of Engineered Timber Flooring:
- Durability: Engineered timber flooring is constructed with multiple layers of wood that are adhered together, creating a structure that is not only durable but also highly resistant to wear and tear. Its multi-layer construction provides strength and stability that can withstand heavy foot traffic beautifully.
- Versatility: One of the significant advantages of engineered timber floors is their vast range of styles, sizes, and finishes. This variety allows homeowners to customize their flooring to match their specific style and decor.
- Environmentally Friendly: Engineered timber flooring requires less solid wood than traditional hardwood flooring. The lower layers can be composed of less costly, fast-growing trees or recycled wood. This composition helps to preserve rarer and older trees, contributing positively to the environment.
- Easy Installation and Maintenance: Engineered timber floors are fairly easy to install, making it a popular choice for both DIY enthusiasts and professionals alike. Plus, they demand less in terms of maintenance and modern finishes ensure cleaning is a breeze.
Cons of Engineered Timber Flooring:
- Limited Refinishing: Just like solid hardwood, engineered timber flooring cannot be sanded and refinished multiple times. The thin top layer of real wood can only undergo a limited number of refinishes before the layer is worn out.
- Potential for Damage: While engineered timber floors are sturdy, they can still be scratched by pets or furniture, stained by spills if not cleaned up quickly, and faded due to prolonged exposure to the sun.
- Price: Although less expensive than solid hardwood, engineered timber flooring costs more than other flooring options like laminate or vinyl. However, considering its lifespan and aesthetic appeal, many homeowners find it a worthy investment.
- Limited Lifetime: While highly durable, the lifetime of engineered timber flooring is not quite as long as that of solid hardwood. This is mostly because of the limited number of times it can be refinished.
In conclusion, engineered timber flooring offers a sleek and modern alternative to traditional hardwood, providing numerous benefits including durability, versatility and ease of installation. However, it’s important to consider factors such as the refinishing limitations and price before making a decision.
…