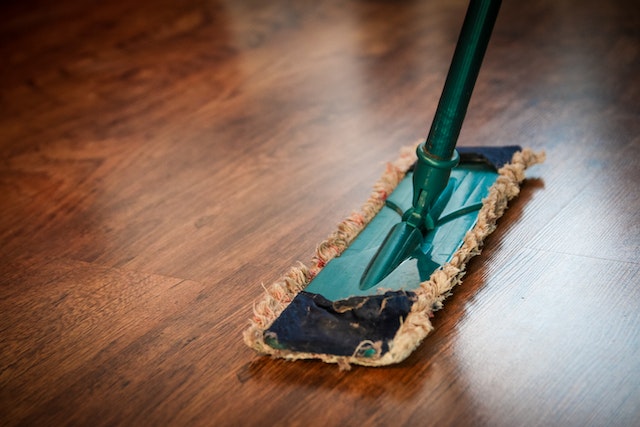
Guide To Polish And Varnish Your Wooden Floor In 5 Easy Steps.


Wooden floors are a complement full of charm, luxury and warmth for any home, and their maintenance represents only a simple step (and not so frequent or necessary) in its existence… However, when the time comes to beautify it, do it yourself, or pay someone else to do such a basic job? We bet on the first option, and we explain how!

In 5 simple steps and achievable even by inexperienced people, this guide is for you to polish and varnish your wooden floor impeccably without overcomplicating it… Let us start now!

1. Preparing the place

Before starting to work on the floor, it must be impeccable and without a single particle of dust, so in addition to cleaning it, we must remove all furniture and items that may accumulate it. Next, cover all the doors and windows with plastic to create a filter before the exterior entrances. Remember to warn all the house inhabitants that the space will be unavailable for at least 48 to 72 hours until the work is finished. 

PHU Bortnowski ‘s work 

2. What materials do I need?

Of course, before working on the floor, we must have the necessary materials, not the traditional ones from the toolbox. The most vital are:

– Vacuum cleaner (for ideal cleaning beforehand)

– Industrial scraper or Special brush for paints and residues (to perfect the surface and edges)

– Smooth plastic spatula and special varnish brushes (for the time of coverage)

– Special polisher for floors and edges (for the perfect seal)

– Special varnish for wooden interiors, generally urethane acrylic (with an approximate price in hardware stores of 34,900 pesos)

3. Get to work!

After carefully vacuuming and cleaning the surface, it levelled out each of its imperfections by covering any holes and gluing down any boards that may be slightly loose. Remember that this step is as important as applying the final varnish since the floor’s neatness will guarantee that the result is truly satisfactory. 

4. Just before varnishing

Most polishers have a roller to which you can adjust the sandpaper that best suits you according to the work. Depending on how fine or penetrating you want the polish to be, you should go between the 80 to 120 grit diameters, usually in this order, several times until the vision pleases you. An important point to consider is to pass the polisher linearly and continuously, without stopping, so as not to generate unevenness that can play against us in the varnishing process. 

5. The final shine

To apply the varnish, you must properly vacuum and clean the surface again, removing any debris or improper edges. Then, continue to apply the first layer of varnish with brushes and special applicators, let it dry for 24 hours and after this period has passed, polish the floor again and this time with 400 sandpaper. 

The next step is to dilute the polyurethane varnish in 10% of its volume of mineral spirits and apply two coats of this mixture on the surface, with the same period of 24 hours between coats and with the sanding of 400 with the vacuum cleaner when dry.

As a final secret for better results, leaving three more days without placing furniture or items that could scratch the floor would be ideal. After this, you cannot stop contemplating your brilliant wooden environment!

read more

Timber Floor Restoration: Complete Guide

Timber floors were once the most popular flooring in the United States. They were first used in finished form in the 1600s and continued to grow in popularity until the 1980s when cheaper options became available.
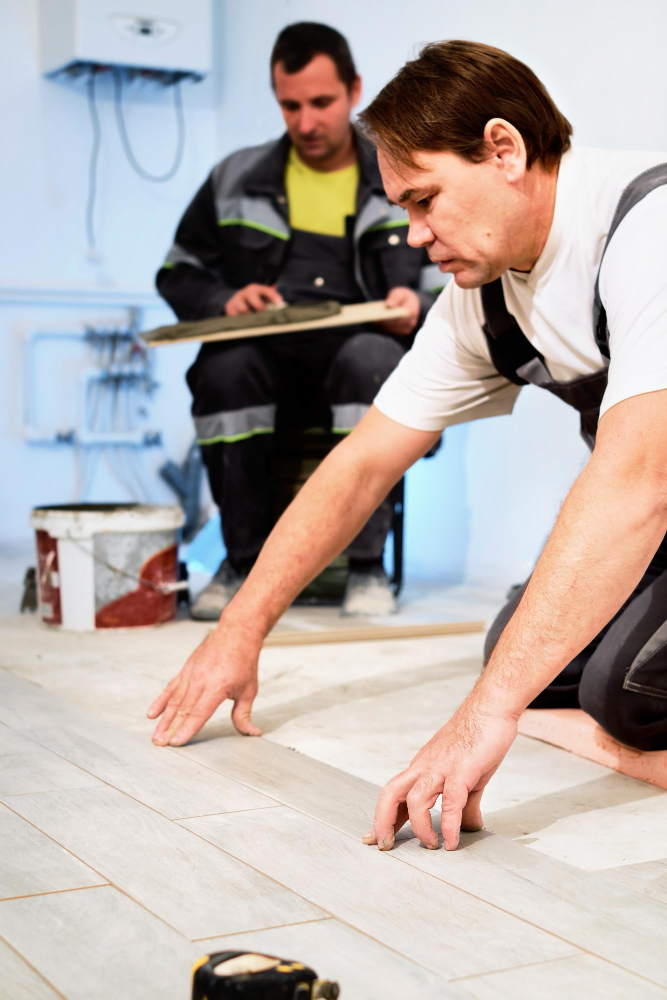
To this day, they are a luxury, and anyone who wears them should be proud. If your Timber floors are old, worn, and unattractive, they need refinishing. This guide will help you make the final decision.

How to restore Timber floors

Refinishing old Timber floors will require some know-how. But it’s easy once you know how to do it. You must be patient and take it easy when necessary. You can have the floors of your dreams if you can do that.

What you will need

  • Broom
  • Scrub
  • Timber floor Cleaner
  • Mask
  • Buffer
  • Sandpaper
  • Empty
  • microfiber sweeper
  • Timber floor finish

Cleaning

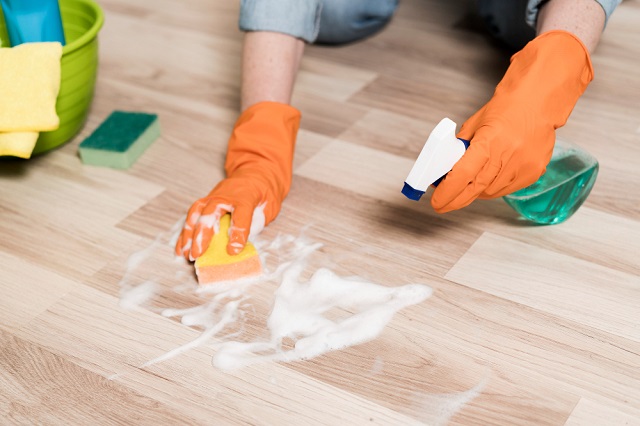
The first thing you do is get everything out of the room. Then start cleaning. Sweep the floor well before mopping. Then mop. You can buy a Timber floor cleaner or make your own with 1 part vinegar to 10 parts water.

Just make sure your floor is dry afterwards. It is very important to apply the finishes on a dry floor. Allowing it to soak will make marks as the finish will not apply to wet areas and will stain the floor.

sanded

Putting on a mask will be beneficial. It’s a good idea to make sure everyone in the room is wearing one. You will want to rent a buffer to make this process much easier. Then use 150 to 200 grit sandpaper and sand anywhere a polisher can’t reach.

Then start buffing with the buffer. It should come with instructions, but if it doesn’t, you can ask the company you rented it from. Dust should be all over the floor, and the old finish should be gone immediately.

Vacuuming

Consider vacuuming up the dust as you go. This will make it easier to see and less dust for you to breathe. If you have a helper, having him do it is good. Once you’ve finished buffing the floor, let it sit for ten minutes, then vacuum it again.

Finally, with a soft microfiber broom, sweep the floor. Please do not use a bristle broom; you will lose the dust and spread it around. Use a Swiffer sweeper or duster, or other soft pad. Dusting works well.

finishing application

If you have a respirator, wear it. Otherwise, a mask may suffice if you take plenty of breaks for fresh air. Again, cover the hard-to-reach parts with a small hand brush. Then, pour the finishing strips on the floor for the rest of the room and spread it out as you would with a mop.

Apply it like paint, working with the grain of the wood. If applying a second coat, wait 3 hours or the time indicated on the bucket. It is best to wait about a week before adding furniture or entering the room.

How much does it cost to refinish Timber floors?

The cost of refinishing Timber floors depends on whether you do it yourself or hire someone to do it for you. You can expect to pay $1,751 on average, as the range is typically between $1,074 and $2,482.

This is if you pay between $3 and $8 per square foot, the average cost to refinish Timber floors. It may cost more or less, but it will generally be in this range. Here’s a breakdown of what you’re paying for:

  • Sanded: $0.50 to $3.00 per square foot
  • Staining: $1 to $3 per square foot
  • Siding: $1 to $2 per square foot

Other costs include labour, tools, and any special items you need to purchase for different types of flooring.

Timber Floor Restoration Projects

Here are some projects where people restored old Timber floors and got amazing results! Check them out to get inspired for your project!

Roxanne White Timber floors

This project is quite inspiring. Roxanne of The Honeycomb Home refinished her Timber floors. They start out looking pretty rough. Most people would give up before even restoring them without a professional.

As you can see, the medium-coloured floors were old, worn and unattractive. But after a bit of DIY, she made them look wonderful! Instead of using a wood stain, she tried a different route.

He whitewashed them with paint after a good repair and a coat of polyurethane to seal the floors afterwards. This shows that going darker is optional to cover Timber floors with a new finish.

Karen Modern Wood Floor Refinish

Karen from The Art Of Doing Stuff showed us how to finish pine hardwood so it looks spectacular. The struggle with the pine tree is that it’s easier to finish with it looking orange. But Karen found a way.

He started with the floors as usual, using less fine grit sandpaper to give them a more natural look. He also used a matte finish and a water-based formula. She swears by BonaVida and uses only her products.

The final look is stunning and natural and has a gorgeous hue you can hardly find anywhere else. The look can be used in farmhouses, shabby chic homes, and any rustic home. You can make it work for any house.

Robert and Lauren’s Timber floor under the rug

If you are lucky enough to have Timber floors under the old rug, remove it! That’s what Robert and Lauren of Blesser House did. They pulled up that rug and were left with a mouldy mess.

Although it was not moulded, they were marks left by the carpet. They suggest using a hammer and pry bar to remove any baseboard covering the carpet. Then lift the rug and use a utility knife to help with stubborn sections.

Then they remove the staples and continue as if the carpet was never there. Be sure to wear a safety mask if there’s mould or something even more sinister under the rug. As you can see, your floors look amazing.

Sarah’s Light to Dark Wood Floors

Sarah from Room For Tuesday boldly decided to take her lightwood floors and go dark. When Sarah decided to do it, she was given a quote of $4,000. With that, she decided to do it herself.

He ended up spending $600, saving thousands of dollars. This is something to consider if he thinks his listing is outrageous. You will always save money doing it yourself, especially if you do it right.

He went for a smooth look with 200+ grit sandpaper. The result is fantastic. The dark floors are as dark as possible, and it looks amazing with the white fireplace to contrast them.

The entire refinishing process

The folks at Life On Shady Lane showed us step-by-step how to refinish Timber floors allowing us to follow along. They walked us through every step and even created two posts to ensure we got everything.

What is special about this project is that they show why each step is important. Why it’s important to sand old, finished floors, what’s the difference between unsealed and sealed floors, and more. It is worth reading.

Just look at these results! It may seem easy, but if you follow each step, you will see it requires much work and dedication. You need to earn your Timber floors before taking shortcuts. But it will be worth it!

Frequently Asked Questions (FAQ) Frequently Asked Questions

Is replacing Timber floors a better option?

Unless the wood is rotting, then no. Replacing Timber floors is extremely expensive. Refinishing them can be expensive if you hire a professional, but it’s even more expensive to redo them completely. Stick to the original if you can.

Is my floor to worn and scratched? 

Probably not. If you get a good sander, you can get through most scratches unless they are deep cuts. In that case, leave them on, as they can add character and are barely noticeable when done.

How do I clean Timber floors?

Here is a wonderful guide on how to safely clean Timber floors. You should give them a good cleaning at least once a week unless you want to repaint them in the not-too-distant future. You worked so hard to get here, so take care of them!

read more

How To Clean And Polish Your Timber Floor With A Sander

Today we will teach you how to easily and efficiently clean and polish your timber floor using a sanding machine. Forget expensive and tedious manual cleaning, and learn how to use a power tool to leave your floors looking like new.

Read on for the best tips and tricks for using your sander correctly and getting spectacular results cleaning and polishing your timber floor.

We are preparing your timber floor for a big polish with a sanding machine.

Timber floors are beautiful and durable. However, even the nicest timber floor can look worn and dull over time.

The good news is that you can give your timber floor a new look with a sander and a little patience.

If you are considering doing a floor refinishing project, follow these simple steps to prepare your timber floor for heavy sanding with a sander.

Step 1: Clear the room. Before you start working on your floors, remove all furniture and objects from the area. This will give you enough room to move around and work comfortably. You will also prevent furniture and objects from getting dirty or damaged.

Step 2: Remove the skirting boards. To ensure that all areas of the floor are accessible with the sander, removing the baseboards from the wall is important before beginning work. Use a tool to cut through the caulk, then use a pry bar to remove the baseboards from the wall.

Step 3: Inspect the Floor Before you start sanding, it is important to inspect your floor for any nails, staples, or other debris that could damage the sander. If you find anything, carefully remove it from the floor before you begin.

Step 4: Sand the floor. After you have done the steps above, it is time to sand your floor with a sanding machine. Start with a coarse sandpaper, then change to a finer grit until you have achieved the desired degree of smoothness across the floor.

When you are done sanding, clean up any dust and use a vacuum to pick up any extra debris before applying the sealer.

  • What is the difference between a sander and a polisher?u003c/au003e
  • What is the difference between an orbital sander and an eccentric sander? 003e?

You can polish your timber floor with these simple steps with the sander.

What kind of sandpaper is suitable to use on wooden floors?

The appropriate sandpaper for wooden floors has a fine grit (120 to 220). This paper can remove irregularities and old varnish from the floor without damaging the wood.

It allows to leave a smooth and uniform surface to apply a new finish. It is important to select a good quality sandpaper and change it frequently during the sanding process to avoid any unnecessary damage to the floor.

What kind of sandpaper is suitable to use on wooden floors?

Floor sandpaper, or coarse-grit sandpaper, is suitable for sanding wood floors. This type of sandpaper is characterized by having a coarse grain that allows sanding the surface more easily and quickly.

Floor sandpaper is often available in different degrees of abrasiveness, from coarser (low grit) to finer (high grit), allowing for a more refined finish.

Using a floor sander to achieve a better result when sanding the wood surface is important.

What is the price for the wood floor polishing service?

The price for the wood floor polishing service may vary depending on the size of the area to be worked on, the type of wood and the degree of deterioration of the floor. The average cost can range from $20 to $40 per square meter.

Hiring an experienced professional and good power tools is important to achieve a perfect finish on the floor.

You can also find companies or individuals that offer discount packages if you opt for the polishing service along with the restoration and maintenance of the wood floor, which can be a good option to save money in the long term.

What are the three steps to polish a floor?

The three steps to sanding a floor with power tools are:

  1. Sanding:Before beginning to polish the floor, it is important to sand it with an electric sander to remove imperfections and leave the surface even. It is recommended to use coarse sandpaper at first and then gradually decrease the roughness of the sandpaper until it reaches fine sandpaper that smooths the surface.
  2. Polishing:Once the floor is properly sanded, it must be polished. To do this, use an electric polisher equipped with steel wool or felt pad and a polishing product suitable for the type of floor. Follow the manufacturer’s instructions and work in small sections for a smooth finish.
  3. Waxing:Finally, waxing the floor to protect it and give it a shine is necessary. To do this, a layer of wax is applied with an electric polisher equipped with a sheep’s wool polishing pad, always following the manufacturer’s instructions. It is advisable to apply several layers of wax, allowing each one to dry before applying the next.

read more

Flight Timber

Established in 1992, Flight Timber has established itself as a leading independent that designs, manufactures, delivers and erects Timber Frame Structures, Roof Trusses, Staircases and Bespoke Joinery throughout the UK.

The nature of the companies activities places particular emphasis on the experience and proficiency of its personnel, as well as the quality, durability and flexibility of its products and the service it offers.

Using state of the art sophisticated design software Flight Timber has the capability of designing Timber Frame Structures and Trussed Roofs in house, we work closely with Structural Engineer practises giving us unrivalled flexibility and design experience.

The professional standing of Flight Timber products Ltd is emphasised with its membership of the most proactive trade associations connected to its activities:-…

read more